Showing posts with label quick. Show all posts

Saturday, December 7, 2013

Snowman Hat Centerpiece

 I enjoy being crafty with items I already have in the house because let's face it, being crafty can be expensive.  Using leftover supplies from previous projects and repurposing other items is a great way to keep costs down.  This project didn't cost me a penny because I had everything already.  Work with what you have at home, here are my basic instructions.

Materials:
  • Coffee Can
  • Black Plate or Charger
  • Black Spray paint
  • Red Ribbon
  • A Small handful of fake snow
  • A Sprig of Holly
Spray paint empty coffee can and plate (or charger) with black spray paint.  Let it dry.  Tie a piece of red ribbon around the coffee can.  Set can on plate.  I did not attach the can to the plate because I wanted to be able to take it apart for easy storing.  Tuck a piece of holly into the ribbon and sprinkle a little bit of fake snow on it.  That's it, easy peasy!
Follow the Magical Moms on Facebook and Pinterest for weekly menu ideas, crafts, and Disney Magic.  


Thursday, October 10, 2013

Mozzarella Stuffed Meatballs


Spaghetti and meatballs is something that everyone in my house can always agree on and since the meatloaf from the other night was such a hit with everyone I decided to try a meatball variation with the Stove Top Stuffing crumbs.  The kids were a surprised when they cut into their meatballs and found their favorite food- CHEESE!  This recipe is going straight to the top of my "Kid Friendly" recipe list!  The stringy gooey cheese is sure to make anyone say YUM!

Ingredients:
  • 1 lb. Ground Beef
  • Mozzarella Cheese
  • 1/2 teaspoon Basil
  • 1 Egg
  • 1 Tablespoon Milk
  • 1 teaspoon Minced Garlic
  • 1 Tablespoon Parmesan Cheese
  • 1/4 teaspoon Oregano
  • 1/2 teaspoon Salt 
  • 1/4 teaspoon Pepper
  • 1/3 Cup Stove Top Stuffing Crumbs (place dry Stove top in food processor and pulse a few times)
Makes 12 meatballs 
Grab enough meat to make a meatball and gently flatten it in your hand.  Place a piece of mozzarella inside and then for the meat into a ball.
Place on cookie sheet and bake for about 12 minutes at 375 degrees.
 I made mine the day before I needed them and put them in the fridge.  When ready I heated the meatballs in the pan of spaghetti sauce for about 15 minutes.  Then served sauce and meatballs over pasta.

Follow the Magical Moms on Facebook and Pinterest for weekly menu ideas, crafts, and Disney Magic.  


Thursday, September 26, 2013

Quick, Easy, and Inexpensive Halloween Crafts

If you want more magical mom stuff, please like us on Facebook here!

I wanted to make some crafts with supplies that I already had, but since I LOVE the craft store I decided I was willing to buy a few things to complete them.  I ended up spending less than $6.00 and made these cute decorations.  Get creative and have FUN!  Oh and drink a bottle of wine while you do it... you will need an empty bottle!


Supplies I Bought:
  • $1.99 Bag of Google Eyes (the one that comes with a variety of sizes)
  • $1.00 Small Wood Frame
  • $0.45 Letters E E K
  • $1.00 Small Chalkboard Frame
  • $0.99 Sparkly Tree Branch
  • $0.49 White Crepe Paper
Total $5.92

Supplies I Had on Hand:
  • Wine Bottle
  • Purple Paint
  • Black Paint
  • Green Paint
  • Orange Paint
  • White Paint
  • Scrap Ribbon
  • Glue
  • Random Jars
  • White Chalk
  • Spider Sticker 
  • Spider Web Place Mat
  • Tape
** You can use what ever color paint you have on hand or you can buy acrylic paint for about $0.59 each.


EEK Googly Eye Picture Frame
First I painted the picture frame a lime green color and the letters orange.  After they dried, I attached the piece of ribbon, letters, and googly eyes with glue.  Last, I added a SUPER cute picture of my son in his Halloween costume!


The Witch is IN Chalkboard
First I painted the chalkboard purple and let it dry.  I lightly wrote on the chalkboard in pencil what I wanted it to say so that I had a guide.  Then I used white paint (you could use the chalk) to trace the writing. I actually glued the piece of chalk to the frame because the witch is ALWAYS in!  Next I added a piece of scrap ribbon and a Halloween sticker.  Last I dipped my finger lightly into the black paint and gently rubbed it in to the frame to give it more of a worn look.  

Mummy Jars
I chose three different sizes of jars.  A jelly jar, an olive jar, and a quart size Mason jar.  First I took a very long piece of the white crepe paper and crumbled it up just a little bit to give it a more mummy like look.  Then I just began wrapping it around until it was all covered.  I taped down the ends and even tied on a few extra pieces.  Last I glued on a pair of googly eyes.  I plan on placing FLAMELESS tea lights in them to let them glow at night.  
Now that you have finished that bottle of wine you can stick the sparkly glitter branch in it and your display is complete!

be sure to check out some of our other Halloween Ideas
Pretty Pretty Pumpkins
Pumpkin Playdoh Party Favors
Free! Chalkboard Halloween Printables
Free Halloween Chevron

Thursday, June 20, 2013

Tracy's Version of the 2-Ingredient Cookie

I know I know... You can tell by the picture that I used more than two ingredients.  Sorry!  I had two REALLY ripe bananas sitting on my counter, I was just about to throw them away but I remembered a recipe that I had seen on Pinterest for 2-ingredient cookies made with bananas.  So I did a quick search and found this recipe from The Burlap Bag.  Her recipe says that you take two ingredients- bananas and oats and add a mix-in.  Since Nathan was helping, he of course had to put in chocolate chips.  I wanted to put raisins, but he said no.  Luckily he agreed to the Craisins.  After reading some of the comments and reviews I was a little concerned about sweetness to I added a little brown sugar.  After tasting the cookies, they would have been fine without it.  I had never made a cookie without flour or sugar so this was an interesting challenge for the day.  This is a great way to not waste bananas and create a treat for the family in just a few minutes.


Ingredients:
  • 1 1/4 Cups of Quick Oats
  • 2 Large Ripe Bananas
  • 1 Tablespoon of Brown Sugar
  • 1/4 Cup of Mini Semi-Sweet Chocolate Chips
  • 1/3 Cup of Craisins
Makes about 14 cookies

Preheat oven to 350.  
I was a little concerned that the texture of the oatmeal would turn my picky 3-year old away from the cookies, so I put the Quick Oats in the food processor and milled them into smaller pieces.  I definitely didn't completely grind them down- Just a few seconds in the food processor.  
 Next, peel the bananas drop them in a large bowl.  The riper they are, the easier they are to mash.  This recipe was pretty much all Nathan's hard work.  He got to show off his muscles while he mashed the bananas! He had never used a potato masher before-such FUN!

 Then using a spoon, stir in oats, brown sugar and mix ins. The original recipe called for just one cup of oats, but I felt my dough was WAY too runny so I suggest adding another 1/4 cup of oats.  Obviously not all bananas are the same size so adjust accordingly.
 When all the ingredients are well mixed, scoop them onto a cookie sheet lined with parchment paper.

Bake for 14-16 minutes.  The cookies will be soft and oh so good!  FYI.  I am pretty sure that no matter how long you cook them they don't become a crispy cookie.  I think that the banana keeps them moist. They are definitely not the prettiest cookie I have seen, but prettier than those no bake peanut butter things:)

I had to laugh at myself for turning a 2-3 ingredient cookie into a 5 ingredient cookie.  Who knows what I will add in next time?  
  • Butterscotch Chips
  • Nuts
  • Raisins
  • White Chocolate Chips
  • Coconut Flakes
  • Dried Blueberries
  • Mini M&M's

Sunday, June 2, 2013

Beginning my AdvoCare 24 Day Challenge

If you have gotten to this post, you are probably at least interested in trying Advocare, right? Or you may be one of those people like I was a few months ago that was just SICK of hearing about it! Well either way, my goal is to share with you my Advocare journey through several posts...

So what made me break down and try Advocare? Well, I really have no self accountability when it comes to eating. If I'm going to succeed at eating healthy and exercising, I need some sort of plan. I did lose ten pounds in 6 months just by using the MyFitnessPal app and having to log in all of my food, so I thought the Advocare plan would help hold me accountable. In addition, everyone I knew had lost weight using it, so it was sort of a challenge to me to see if I could match or top their weight loss results. That alone adds a second layer of accountability. And lastly, it costs quite a bit of money so I knew I'd be less likely to just quit after a few days! For those 3 layers of accountability alone, I'd say anyone who wants to lose weight should try this.

As I'm writing this post I am on day 4 of the challenge and I have lost 4 pounds. Not bad, right? I also feel really good. What I am surprised by is how much energy and focus I have first thing in the morning when I haven't even taken any of their products yet. That tells me the combination of clean eating and vitamins is really working on me in a healthy way. It's one thing to have energy because you drink an energy drink, but its completely different to have energy when you haven't even taken any of that. I was also worried the products would make me feel jittery and cause me to not be able to sleep like other energy/appetite suppressants do. Not at all. Actually completely the opposite. I find myself falling and staying asleep better and longer. Again a sign my body is becoming healthier in general.

The actual "diet" part of it is really a lifestyle change. It is basically clean eating and it has gone well so far. Since the first ten days are a cleanse and you are supposed to have any certain ingredients, I have found that I'm not cheating. There's no gray area during the cleanse which has made me completely avoid sneaking in a potato chip or taking a bite of my kids food, etc. I have found myself put something in my mouth unconsciously, but I have literally spit it right out, even at a restaurant!

I plan on posting several of my recipes and daily meal plans as I go on the blog to give you an idea of what I'm eating. I'll also post recommendations as I go and keep you updated on my weight and inch loss. Wish me luck!

Friday, April 26, 2013

Chevron Monogram Binder Covers- Great for Teachers!

Chevron is the hottest print tight now, and lucky for you, I have a whole bunch of monogram prints! These are great to use as covers and are the perfect touch to spice up your organizational binders. Just right click on the images below and then save to your computer. Print them out as a full page photo (do not click "fit to frame") and insert into the clear cover on your binder! If you use a notebook/planner system like Circa, these make great covers behind the clear cover also.


Saturday, March 2, 2013

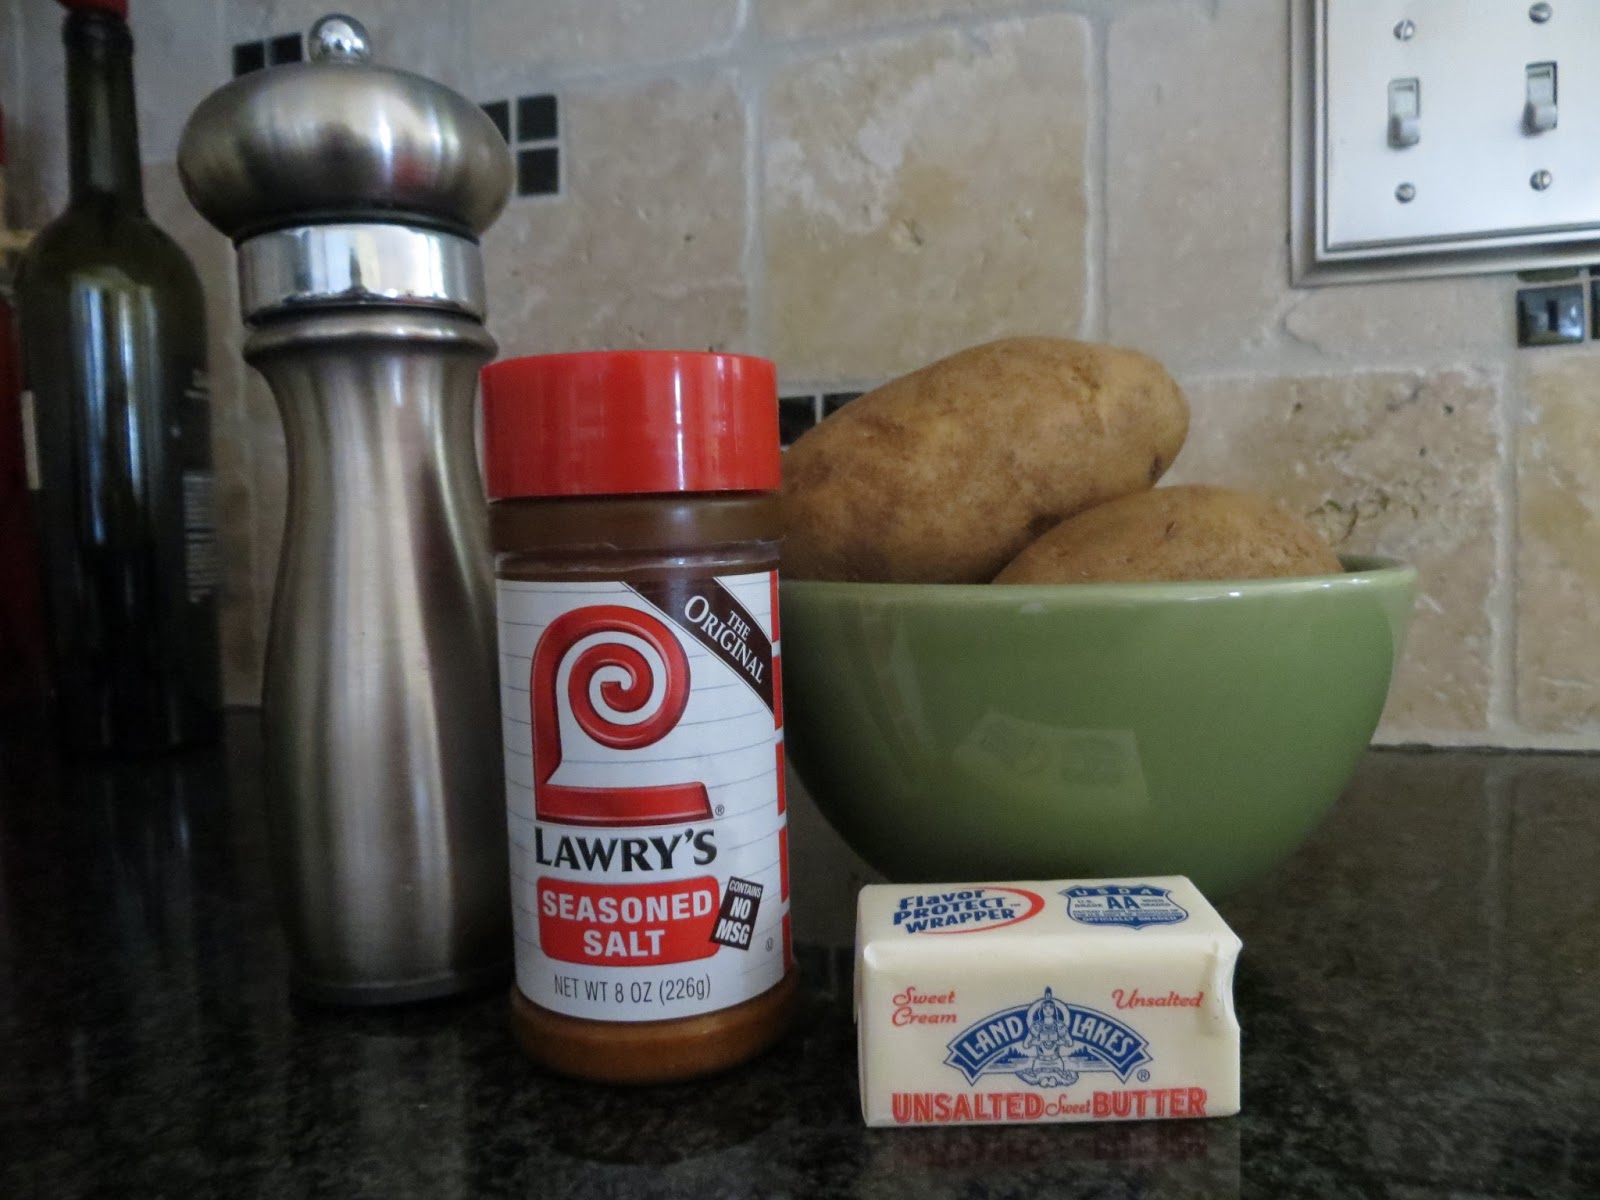
Lawry's Potato Squares

This potato recipe is a quick and easy alternative to the regular baked potato.  Plus I have recently discovered the multiple uses of the Broiler, so I have been experimenting lately.

Ingredients:
  • 2 Large Russet Potatoes (I served each person 1/2 potato, they are so good your family might not want to share.)
  • Butter
  • Lawry's Seasoned Salt

Clean Potatoes and pierce several times with a sharp knife.  Cook in microwave until soft all the way through.  Next, cut potato in half length wise.  Then cut each half into squares, but be careful not to cut all the way through the skin.  This step actually works best if you let the potato cool for about five minutes before cutting.  

 Place butter on top of potato and sprinkle with the Lawry's Seasoned Salt.  Place in oven on broil for about 12-15 minutes  to make them golden and crispy.  I like to top mine with a little sour cream.

This recipe was featured in Two Magical Moms March Menu MadnessAppetizing April Menu, and our 30 Days of Dinners June Menu. Make sure to check out all of the other great recipes on the menus!

Friday, February 15, 2013

Sweet and Spicy Bacon Wrapped Chicken


This is something that can be thrown together very quickly with ingredients that you probably have on hand. The blend of the sweet and spicy gives perfect flavor. This recipe is extremely easy to adjust based on the number of people that you need to serve. I can make a small amount for just our immediate family or for a large group. Either way, everyone LOVES it!

Ingredients:
  • Garlic Powder
  • Chili Powder
  • Salt and Pepper to taste
  • Chicken Breasts
  • Bacon
  • Brown Sugar
First, cut the chicken breasts in half lengthwise. Then sprinkle each side with chili powder, garlic powder, salt and pepper.
After that, spiral wrap each piece of chicken with a piece of bacon and roll in brown sugar. Place chicken in baking dish and bake uncovered at 400 degrees for 30 minutes.
Serve with your fave side dish. I am sure that there won't be ANY left over!

This recipe was featured in Two Magical Moms March Menu Madness and our Appetizing April Menu.  Check out the menus and try out some of our other YUMMY recipes!

Follow the Magical Moms on Facebook and Pinterest for weekly menu ideas, crafts, and Disney Magic.