Showing posts with label fun. Show all posts

Tuesday, July 29, 2014

Mickey Sunglasses


We are counting down the days to our very first Disney Cruise.  I have taken on the challenge of participating in the Fish Extender Gift exchange on board the ship.  We have 20 cabins in our group with a variety of ages and some with kids and some without.  As soon as I saw these  polka dot sunglasses at my local Target I knew that they would be perfect for all of the Disney Gals in the group.  With a price tag of just $1, I bought all that they had and then went to the next Target looking for more!

The sunglasses were incredibly easy to assemble and took no time at all! For under $25 dollars, I have 20 FE gifts that are practical, fun, and Disneyfied! (Probably not a word, but I am still going with it)

Materials:

  • Red Gems
  • Sunglasses
  • Super Glue
  • Tweezers

Thursday, March 27, 2014

Chocolate Strawberry Drop Cookies

My friend Tina made these cookies for a cookie exchange back in December.  I finally remembered to ask her for the recipe and I was pleased to know that they are SUPER easy to make!  I love to turn cake mixes into cookie dough.  One of my favorite ways is Rolo Cookies.  The combination of chocolate and strawberries is always delicious, so why not turn it into a cookie!
 Ingredients:

  • 1 Box of Duncan Hines Strawberry Cake Mix
  • 1 Egg
  • 1/4 Cup Water
  • 1/4 Cup Flour
  • 1/2 Vegetable Oil
  • 1 Cup of Chocolate Chips (I used 3/4 Cup mini chocolate chips because that is what I had on hand)
Makes 2 Dozen Cookies

Preheat oven to 350 degrees.  Using a mixer blend cake mix, flour, water, egg, and oil.  When they are well combined hand stir in the chocolate chips.  
 Place drops of cookie dough onto baking sheet and bake for 10-12 minutes.
Let them cool or enjoy them warm!


Saturday, November 16, 2013

Ice Cream Cone Cupcakes

Yesterday, I was in need of an idea for the bake sale.  I only had a few hours to work with and I did not want to go to the grocery store.  I looked in the pantry and saw that I had a couple of boxes of cake mix and icing.  I wanted to make something a little more fun than regular cupcakes.  I decided to bake the cupcakes in Ice Cream Cones.  I only had 18 ice cream cones on hand so I made a mix of those and regular cupcakes.
Now I will also tell you that I am not perfect.  Sometimes things just don't go as I had planned and yesterday's baking was one of those times.  I wasn't quite sure how long to bake the cupcake cones.  I had made these before but couldn't remember exactly the baking time.  When I took them out of the oven to check them, the cones tipped over.  Clearly they were not done because the batter spilled out of them.  First batch=FAIL! I didn't let it discourage me (mainly because I didn't have any choice this was baking with a purpose not for fun).  I started a new batch.  This time I placed the cones in muffin tin for a little more support.  I also knew that I needed to bake them longer before checking them.  When all was said and done, they were cute!  I had a few less than I had hoped, but all in all it was fine.

Ingredients:
  • Box of Favorite Cake Mix prepared according to package
  • Favorite Icing
  • Sprinkles
  • 24 Ice Cream Cones (the flat bottom kind)
Make cake mix according to package.  Place ice cream cones in muffin tin and fill about 2/3 of the way to the top.  Do as I say not as I did in picture.  I filled mine just a little too full.   Bake at 350 for 14-16 mins.  Let them cool completely, add icing, and sprinkles.  
 I needed a way to transport them, so I cut holes in a thick piece of card stock and placed them in a tin plate.  It worked pretty well, but I am still looking for a better method.  Maybe in individual cups?  If you have any ideas let me know.  These were a HUGE hit at the bake sale and I would like to make them again.  

Follow the Magical Moms on Facebook and Pinterest for weekly menu ideas, crafts, and Disney Magic.  


Wednesday, October 16, 2013

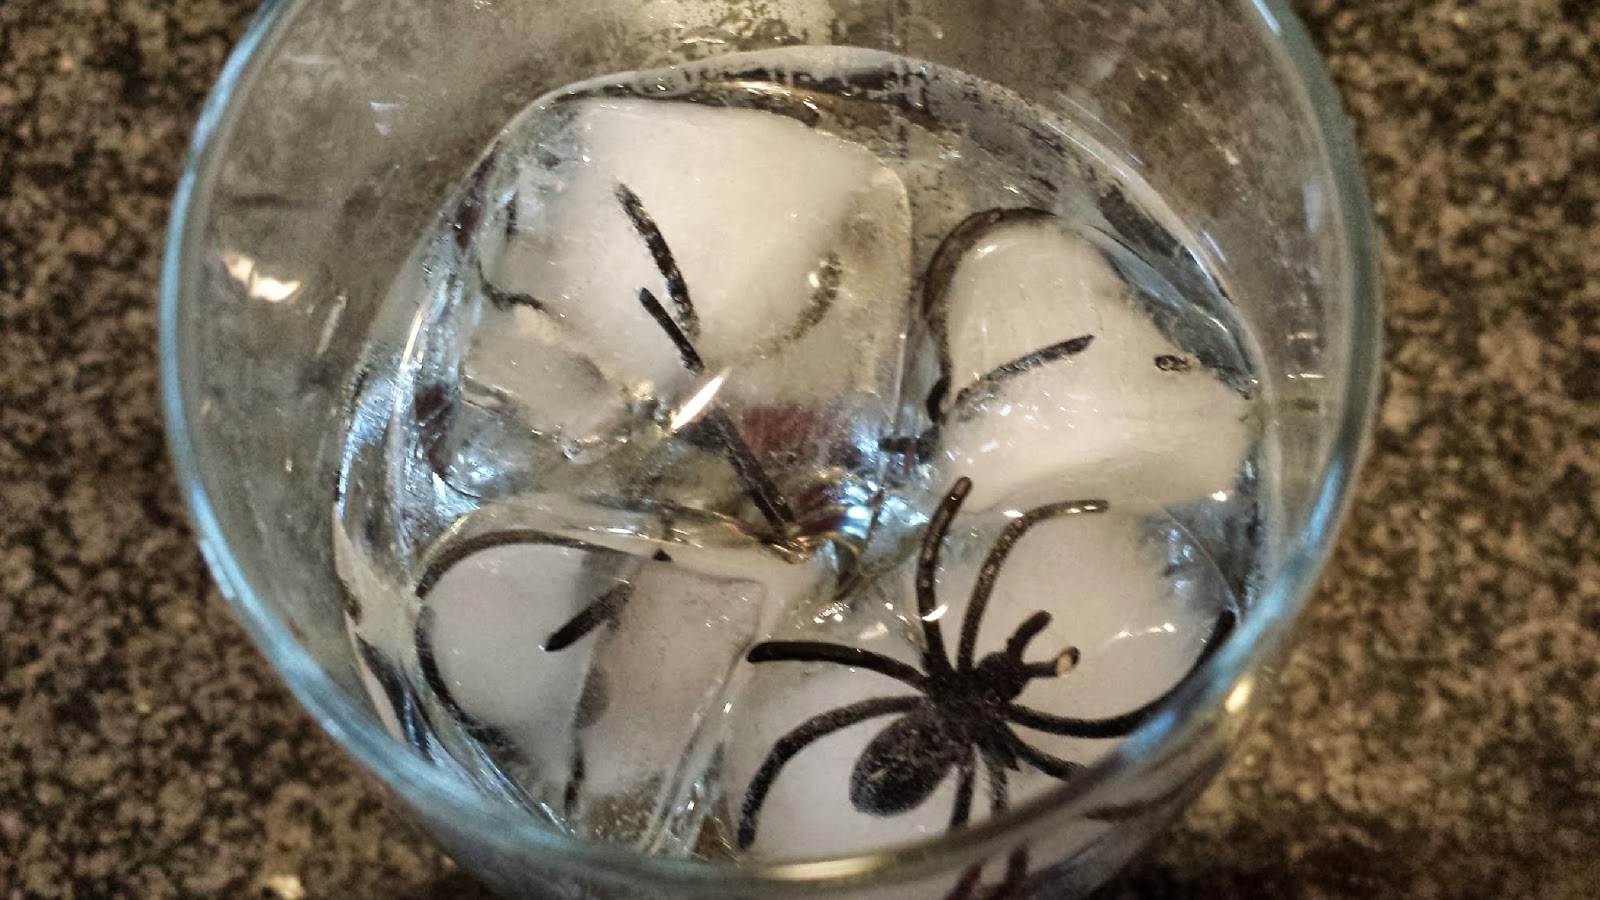
Spooky Spider Ice Cubes


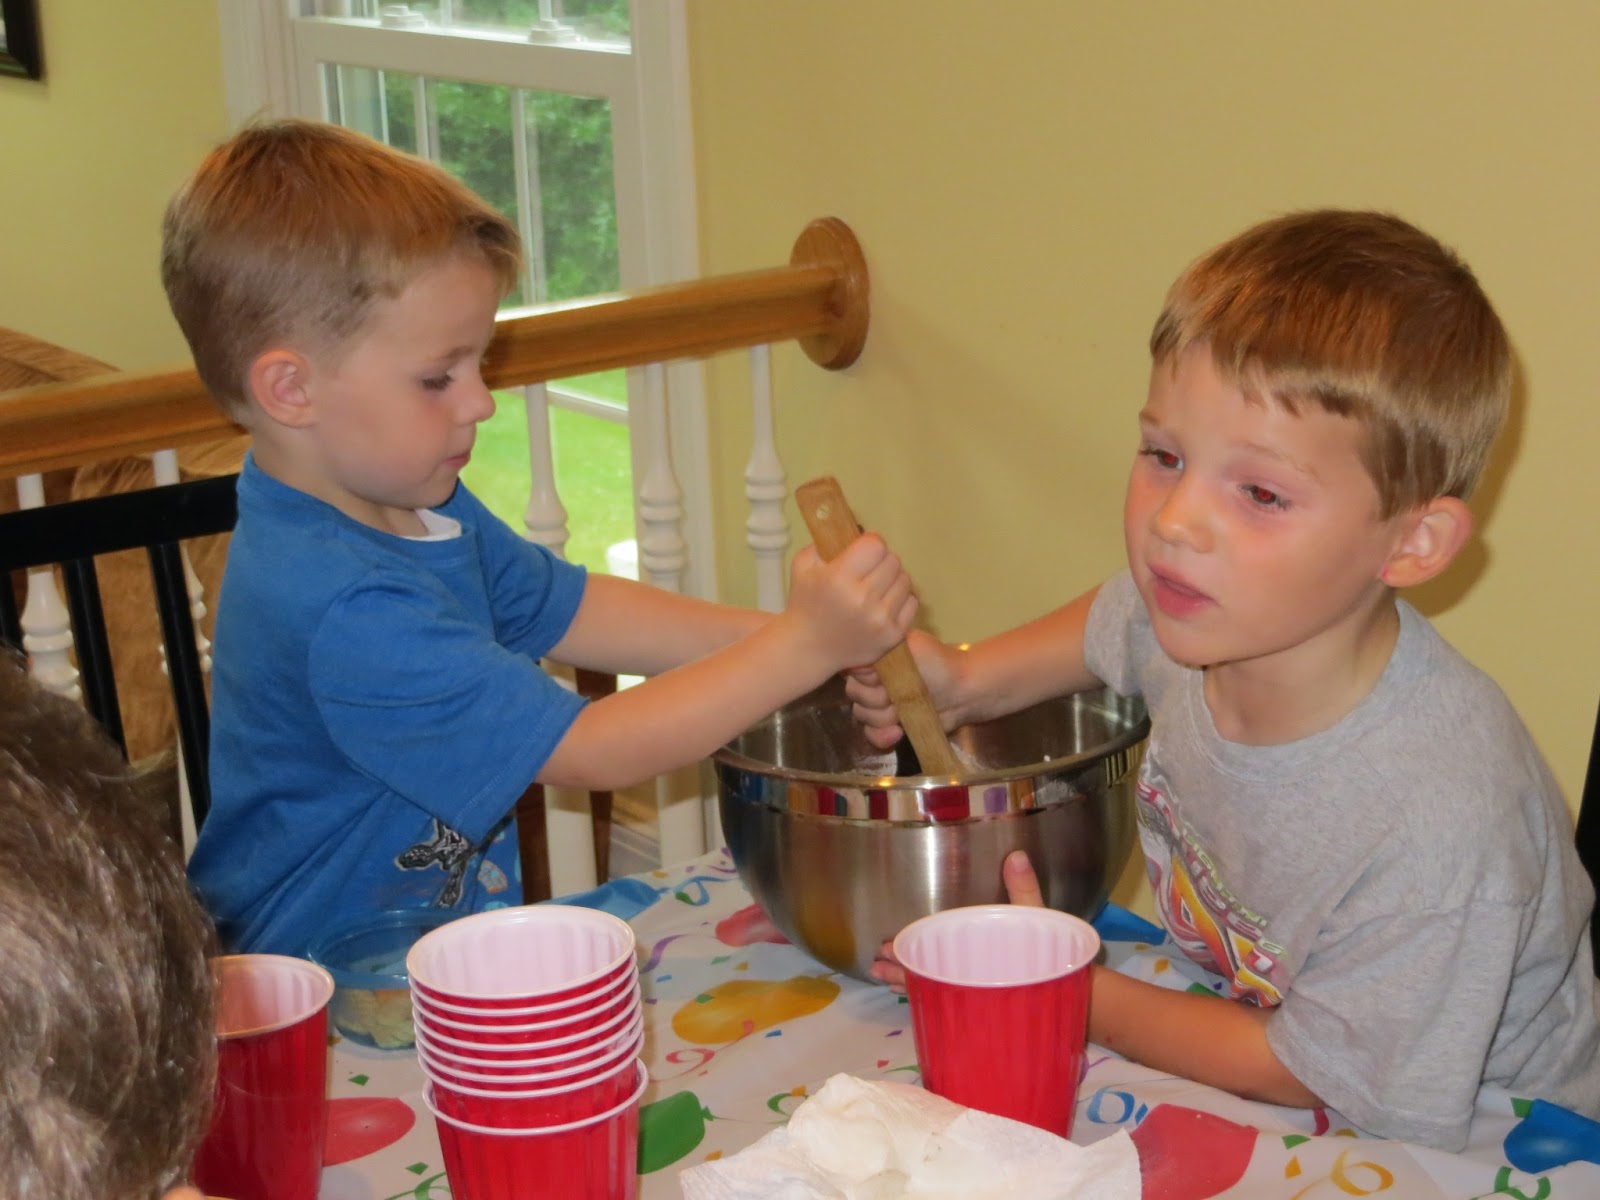
I was looking for something super easy that would entertain the kids for a bit.  They love to mix and cook but I am not always up for the mess.  I decided I could deal with a little spilled water because that is an easy clean up.  These ice cubes entertained Nathan and his friend for a long time.  I had the boys use tongs to place the spiders in the ice cube trays to help them work on their fine motor skills.  Then I let them fill their measuring cups with water from the refrigerator door (which was exciting for them...sometimes it's the little things that make them happy)  They had to very carefully walk it back to their seats and pour it in.  It took them a couple of tries (and towels) but t hey learned to pour slowly so it didn't over flow.  Then we place them in the freezer.  Our friend was coming over the next day too so we left the water alone over night to let it freeze.  The next day they were excited to serve their spooky drinks to Nathan's grandma.  I showed them how to break apart the ice and gave them each a large bowl to play with.  They first tried to melt them with their hands.  We had a race to see who could melt it the fastest.  Then we compared how fast ice cubes melted with cold water vs hot water.  It was a fun little experiment with out a lot of mess!!

Supplies:
  • Plastic Spider Rings
  • Ice Cube Trays
They were concentrating.
Follow the Magical Moms on Facebook and Pinterest for weekly menu ideas, crafts, and Disney Magic.  

Monday, October 7, 2013

The Disney Countdown is ON!

We are very excited to be counting down the days to our next Disney vacation.  When we reach our 30 day mark we have a tradition of hanging up our countdown calendar.  This isn't the only countdown we have going, but this one signifies we are getting CLOSE!  We (sort of) surprised the kiddos with this trip, we only told them we were going about 10 days ago.  We made this countdown together a couple of years ago and I keep it stored in a ziploc bag when we are not using it.  It is very simple.  We hang it on a magnetic chalkboard in our basement, but could easily be hung on the refrigerator or back of a door.

Supplies:
  • Card Stock
  • Magnet Tape

Follow the Magical Moms on Facebook and Pinterest for weekly menu ideas, crafts, and Disney Magic.  

Thursday, September 26, 2013

Quick, Easy, and Inexpensive Halloween Crafts

If you want more magical mom stuff, please like us on Facebook here!

I wanted to make some crafts with supplies that I already had, but since I LOVE the craft store I decided I was willing to buy a few things to complete them.  I ended up spending less than $6.00 and made these cute decorations.  Get creative and have FUN!  Oh and drink a bottle of wine while you do it... you will need an empty bottle!


Supplies I Bought:
  • $1.99 Bag of Google Eyes (the one that comes with a variety of sizes)
  • $1.00 Small Wood Frame
  • $0.45 Letters E E K
  • $1.00 Small Chalkboard Frame
  • $0.99 Sparkly Tree Branch
  • $0.49 White Crepe Paper
Total $5.92

Supplies I Had on Hand:
  • Wine Bottle
  • Purple Paint
  • Black Paint
  • Green Paint
  • Orange Paint
  • White Paint
  • Scrap Ribbon
  • Glue
  • Random Jars
  • White Chalk
  • Spider Sticker 
  • Spider Web Place Mat
  • Tape
** You can use what ever color paint you have on hand or you can buy acrylic paint for about $0.59 each.


EEK Googly Eye Picture Frame
First I painted the picture frame a lime green color and the letters orange.  After they dried, I attached the piece of ribbon, letters, and googly eyes with glue.  Last, I added a SUPER cute picture of my son in his Halloween costume!


The Witch is IN Chalkboard
First I painted the chalkboard purple and let it dry.  I lightly wrote on the chalkboard in pencil what I wanted it to say so that I had a guide.  Then I used white paint (you could use the chalk) to trace the writing. I actually glued the piece of chalk to the frame because the witch is ALWAYS in!  Next I added a piece of scrap ribbon and a Halloween sticker.  Last I dipped my finger lightly into the black paint and gently rubbed it in to the frame to give it more of a worn look.  

Mummy Jars
I chose three different sizes of jars.  A jelly jar, an olive jar, and a quart size Mason jar.  First I took a very long piece of the white crepe paper and crumbled it up just a little bit to give it a more mummy like look.  Then I just began wrapping it around until it was all covered.  I taped down the ends and even tied on a few extra pieces.  Last I glued on a pair of googly eyes.  I plan on placing FLAMELESS tea lights in them to let them glow at night.  
Now that you have finished that bottle of wine you can stick the sparkly glitter branch in it and your display is complete!

be sure to check out some of our other Halloween Ideas
Pretty Pretty Pumpkins
Pumpkin Playdoh Party Favors
Free! Chalkboard Halloween Printables
Free Halloween Chevron

Zucchini Fritters

If you want more magical mom stuff, please like us on Facebook here!

This is definitely my new favorite zucchini recipe.  It's so easy and everyone loved it.  I grew up eating fried zucchini and I make it for my family now, but this is way LESS mess and according to the non-veggie lovers of my family "it's not slimy"  So it is a Win-Win situation for me!

Ingredients:
  • 1 1/2 Cups Grated Zucchini
  • 2 Tablespoons Finely Chopped Onion
  • Vegetable Oil
  • 1 Egg
  • 1/2 Cup Flour
  • 1/8 teaspoon Garlic Powder
  • 1/4 Teaspoon Salt 
  • 1/8 teaspoon Pepper
  • 1/8 teaspoon Cayenne Pepper
  • 1/2 teaspoon Baking Powder
This made 10 fritters.  

Dipping Sauce
Ingredients:
  • 1/2 Cup of Mayonnaise
  • 1 Tablespoon Key Lime Juice
  • 1/4 teaspoon Cayenne Pepper
For sauce, combine all ingredients in a small bowl and mix well.  Refrigerate until ready to use. 

In a medium bowl, combine grated zucchini and finely diced onion.  In a separate bowl lightly beat 1 egg.  In another bowl, mix together flour, garlic powder, salt, pepper, cayenne pepper, and baking powder.  
Add egg to zucchini and mix well.  Next, stir in flour mixture.
In a large skillet, heat vegetable oil.  When oil is hot form the zucchini into small patties and gently place them in the oil.
Cook for about 2 minutes or until a nice golden brown and then flip.
When they are cooked crisp on both sides, remove them from oil and place on a plate lined with a paper towel.  The paper towel will absorb any extra oil.
Then serve hot with the creamy lime dipping sauce.  YUM!

Wednesday, August 14, 2013

Despicable Me Minion Cupcakes

 Thank goodness that Hostess brought back Twinkies so that I could make these cute cupcakes for my oldest son's birthday!  I was definitely not heart broken when they briefly stopped making them, because I am pretty sure that it had been at LEAST 10 years since I had had one.  I did not come up with this idea, I saw it on Pinterest (of course).  They were very easy to make and the kiddos LOVED them.

Supplies:
  • Cupcakes
  • Blue Icing
  • Black Icing
  • Jimmies
  • Candy Eyes (or you can use white Smarties and just put a dot of black icing on them)
  • Twinkies (cut in half)
  • 2 Ziploc Bags (to pipe icing)

Tuesday, August 13, 2013

Birthday Lunch

Both my boys have summer birthdays so I wasn't sure that I would ever get to do this, but Evan is going to day camp this week so it was the perfect opportunity.  Last night before went to bed I got out the wrapping paper and packed his lunch.  I wrapped up his PB&J and the rest of his lunch.  I laughed the entire time I was wrapping because I could only imagine what the police officers that run the junior police camp were going to say.  When Evan got home from camp, he immediately told me how COOL it was and that everyone sang him Happy Birthday!  I am sure that he is going to expect it every year!  

Wednesday, July 24, 2013

Fun with Fossils

My boys love to help cook and they love to get dirty so this was the perfect project for them to help me with.  Plus it was nice to have a few extra hands to help me!

Ingredients:
  • 1/2 Cup Sand
  • 1/2 Cup Used Coffee Grounds
  • 1/2 Cup Water
  • 1 Cup Flour
Combine all ingredients except water
Slowly add water until thick dough forms.
Now it's time to get our your DINOSAURS!
Preheat oven to 200 degrees.  With a spoon, scoop out about a golf ball sized amount on to an ungreased baking sheet.  I used the bottom of a glass to flatten them out.  The dough will be sticky.  
Use the plastic Dino feet to make imprints in the dough
Bake for about 25 minutes.  Using a metal spatula, flip them over and bake for another 5-10 minutes to dry out the bottom.

For other Dinosaur themed projects and party ideas check out the links below
Dino-Mite Party


Fossil Cookies


Dinosaur Eggs


Monday, July 15, 2013

Blueberry Blitz Lemonade

For the birthday party I made a GIANT pitcher of lemonade.  It wasn't really a pitcher, it was more like one of those GIANT Gatorade things that you see them dump over the coach's head at a football game.  Anyways I had LOTS of lemonade.  I figured the adults at the party would appreciate a nice drinks as well.  So in a SEPARATE pitcher I made an ADULT version.  I actually had to refill the adult pitcher 4 times because it was SO good!

Ingredients:
  • 48 ounces of Lemonade
  • 8 ounces Blueberry Vodka ( I used Stolichnaya Blueberry)
  • 1/2 cup Fresh Blueberries
  • 1 Lemon Sliced
Mix lemonade and vodka in pitcher.  Add blueberries and lemon slices.  Serve over ice.  Garnish with additional lemon wedge and a couple of blueberries.  Then go sit by the pool and ENJOY!

Friday, July 12, 2013

Fossil Cookies

Planning birthday parties allows me to do two of the things I enjoy most 1. cooking and 2. be crafty.  And I get to do it both at the same time!!  YAY!  I still like to keep things simple and this is PERFECT for that!

Ingredients:
  • Refrigerated Sugar Cookie Dough
  • Plastic Dinosaurs, Plants, or Bugs
I used tubes of refrigerated sugar cookie dough.  I sliced it into about 1/4 inch slices and baked for 5-6 minutes at 350 degrees.  As soon as they came out of the oven I pressed dinosaur feet into them.  I let them cool and then put a couple into clear treat bags and added them to the goody bags.  I made plenty of them, so I also had a tray of them at the party.  

Dinosaur Eggs

For Nathan's 4th Birthday he requested a dinosaur party.  So I put my brain to work and came up with a few ideas and a few more thanks to Pinterest.  The dinosaur eggs are the perfect make ahead or hands on activity.  We had a wide range of ages 2-7 and they all enjoyed it.  

Ingredients:
  • 1/2 Cup Sand
  • 1 1/4 Cups of Flour
  • 3/4 Cup Salt
  • 1 1/4 Cups Dirt (I used top soil I had left over from potting plants)
  • 1/2 Cup of Water (maybe a little more)
  • 8-12 Small Plastic Dinosaurs
In a large bowl combine sand, flour,salt,and dirt.  Mix well with your hands, make sure to break up all the dirt clumps.  
Add the water.  Make sure you can form a ball with it.  You don't want it to be too wet or it will never dry.
Form dough into egg shapes around the plastic dinosaur.  Place them on a baking sheet or other tray and set them in the sun to dry.  Turn them every couple of hours.  Mine took about 12 hours to dry completely.
After they were dry we had to make sure that they were worthy to be passed out to our little friends so we busted open a couple as a test run.
Then the boys and I formed an assembly line.  Nathan put them in the treat bag, Evan punched the hole in the tags, and I closed up the bag and tied on the tag.

Now we are one step closer to PARTY time!

We also made these with the kids at the party.  I am glad I had some for them to take home because they take so long to dry.  The kids enjoyed getting their hands a little dirty.  Before the kids arrived I measured out the ingredients into plastic cups.  
Then I divided the kids into groups and let them work together.  That way if one of them didn't want to get dirty they could mix with a spoon.  

If the kids would prefer an edible dinosaur treat check out the Fossil Cookies