Showing posts with label favor. Show all posts

Wednesday, October 9, 2013

Pumpkin Playdoh Party Favors

Many schools are encouraging healthy treats for parties and some are even suggesting non-food items.  I decided that I was going to make Playdoh Jack-o-Lanterns for my son's preschool class.  They were very simple and used very basic ingredients so it didn't cost me an arm and a leg either.  

Supplies
  • 2 Cups All Purpose Flour
  • 4 TablespoonsVegetable Oil
  • 4 Tablespoons Cream of Tartar
  • 2 Tablespoons Salt
  • 2 Cups Warm Water
  • 1 6oz pakg Orange Jello
  • Small Cello Bags
  • Ribbon
  • Happy Halloween Tag
  • Black Sharpie
This is enough to do 10-12 small balls

In a medium sauce pot combine flour, salt, cream of tartar, and jello.  Mix together.  Then add water and vegetable oil and whisk until all the lumps are dissolved.  
Over medium-high heat stir continuously as mixture begins to thicken.  This will take a couple of minutes
Continue stirring and folding the dough as it becomes more solid.
Remove from pan and place on wax paper to cool.
After Playdoh cools place rounded balls into the cello bag.  Attach the tag and tie the top closed with a small piece of ribbon.  Last draw a Jack-o-lantern face on the bag with a black sharpie.  

Here is the link for the Happy Halloween Tags
Follow the Magical Moms on Facebook and Pinterest for weekly menu ideas, crafts, and Disney Magic.  


Friday, July 12, 2013

Dinosaur Eggs

For Nathan's 4th Birthday he requested a dinosaur party.  So I put my brain to work and came up with a few ideas and a few more thanks to Pinterest.  The dinosaur eggs are the perfect make ahead or hands on activity.  We had a wide range of ages 2-7 and they all enjoyed it.  

Ingredients:
  • 1/2 Cup Sand
  • 1 1/4 Cups of Flour
  • 3/4 Cup Salt
  • 1 1/4 Cups Dirt (I used top soil I had left over from potting plants)
  • 1/2 Cup of Water (maybe a little more)
  • 8-12 Small Plastic Dinosaurs
In a large bowl combine sand, flour,salt,and dirt.  Mix well with your hands, make sure to break up all the dirt clumps.  
Add the water.  Make sure you can form a ball with it.  You don't want it to be too wet or it will never dry.
Form dough into egg shapes around the plastic dinosaur.  Place them on a baking sheet or other tray and set them in the sun to dry.  Turn them every couple of hours.  Mine took about 12 hours to dry completely.
After they were dry we had to make sure that they were worthy to be passed out to our little friends so we busted open a couple as a test run.
Then the boys and I formed an assembly line.  Nathan put them in the treat bag, Evan punched the hole in the tags, and I closed up the bag and tied on the tag.

Now we are one step closer to PARTY time!

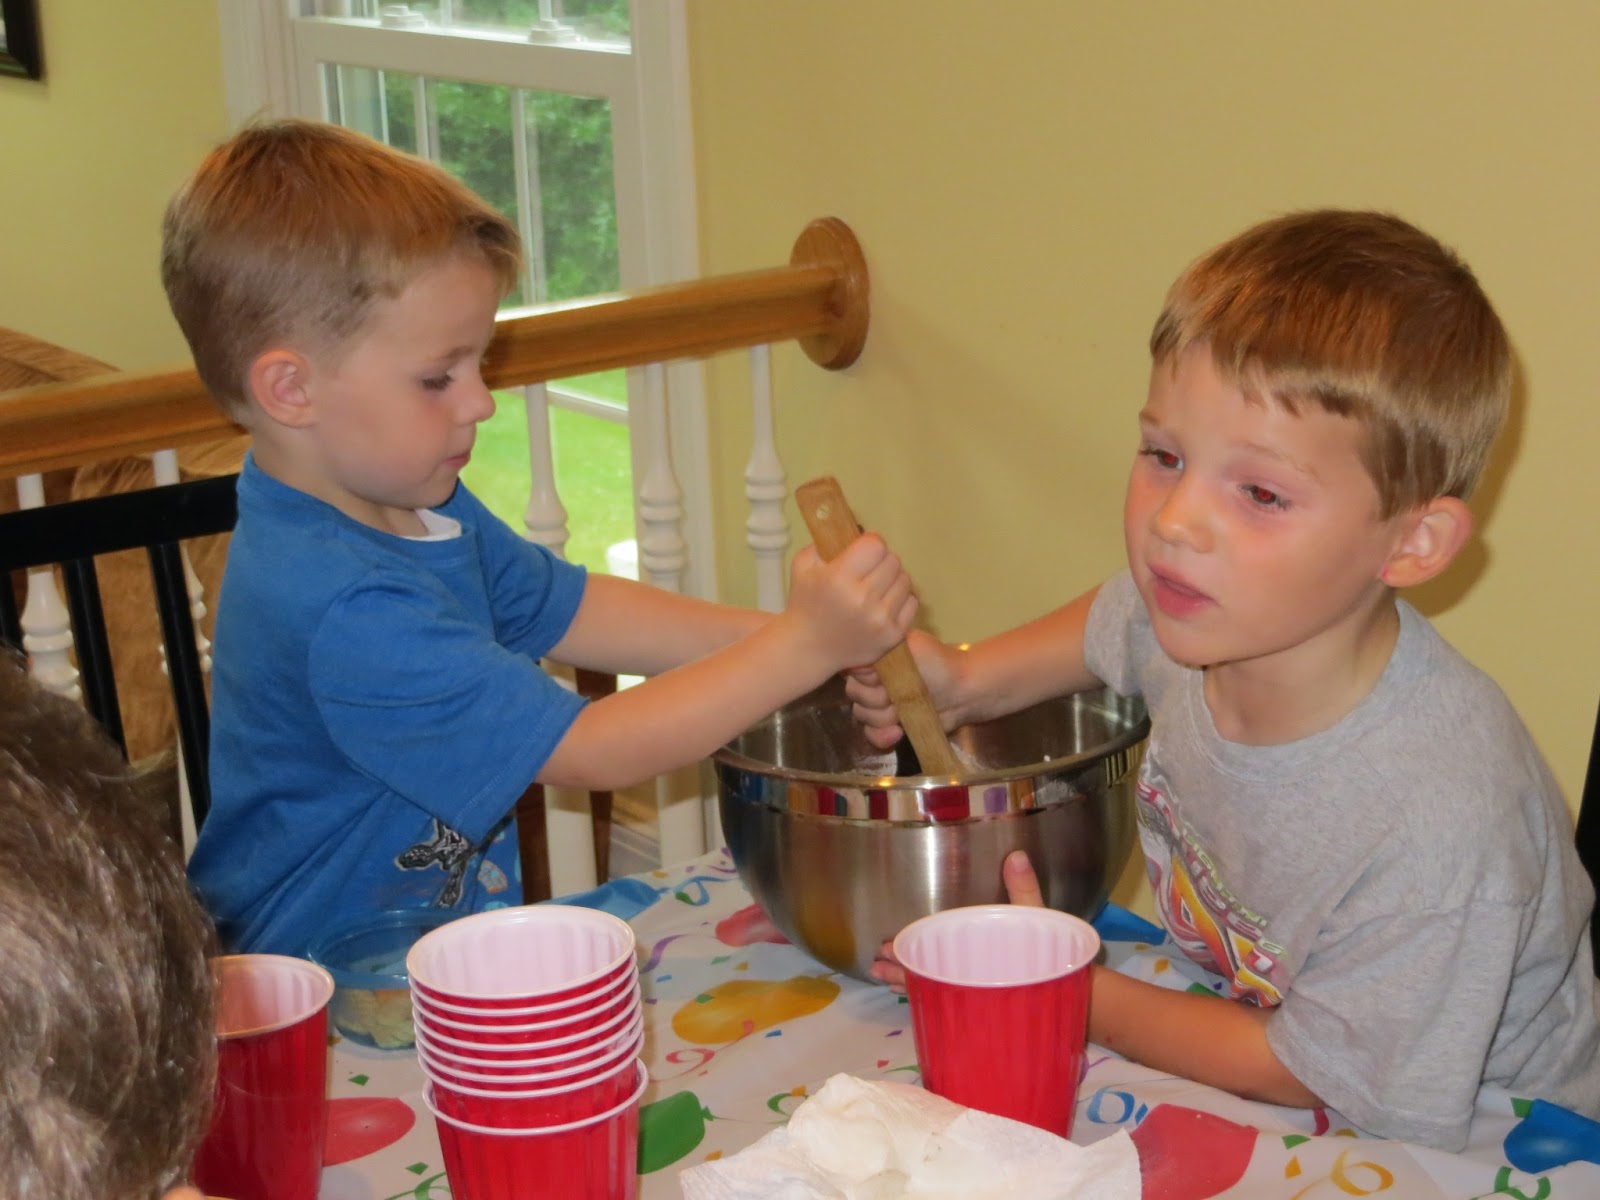
We also made these with the kids at the party.  I am glad I had some for them to take home because they take so long to dry.  The kids enjoyed getting their hands a little dirty.  Before the kids arrived I measured out the ingredients into plastic cups.  
Then I divided the kids into groups and let them work together.  That way if one of them didn't want to get dirty they could mix with a spoon.  

If the kids would prefer an edible dinosaur treat check out the Fossil Cookies